I can still remember the good old days when I was running a small computer company. Actually, not all those days were that good, because sometimes we had to set up wired networks. “But what was so bad about setting up wired networks?”, you might ask. Well, the main problem was caused by drivers. Poorly built drivers, which simply refused to install.
And don’t even get me started on Windows 95’s plug-and-play mechanism! Sometimes we had to remove the network card from its socket, install the drivers by force, and then plug the card back in. So, if you’ve never dealt with issues like these, you should be very thankful for modern operating systems, which are able to detect various interface cards and install the needed software over the Internet.
These days, setting up a wireless network is so much easier than it was in the past. So let me walk you through the entire process.
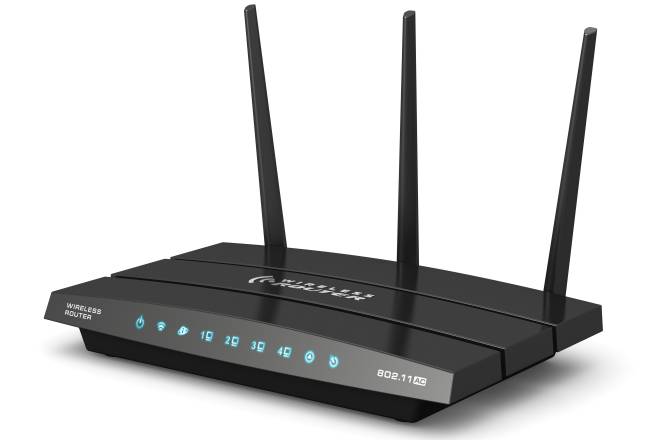
First of all, you are going to need a wireless router, a device that is able to broadcast Internet signal using radio waves.
Then, you are going to need a computer or laptop that has a Wi-Fi card or chip. In fact, you could even use a smartphone, because many router manufacturers provide companion apps for their devices.
Depending on your Internet Service Provider (ISP), you may also need a modem and a pair of Ethernet cables.
Let’s begin by stating that many devices can be set up using WPS, which stands for Wi-Fi Protected Setup. It’s much faster to set up your devices that way, but having WPS activated increases security risks. So, avoid doing that, even if the router manufacturer recommends it. Be sure to disable this router option.
Begin by choosing the best place for your router. Ideally, you should place it in the center of your home, away from walls, cabinets, and electronic devices that may cause interference. Sometimes you will need to move the router closer to the devices that need a stronger Wi-Fi signal, of course.
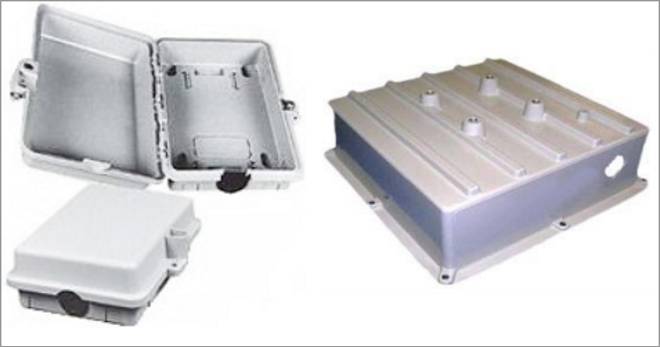
If you have got a large home, you should consider adding a signal repeater, a Wi-Fi amplifier that can help boost network range. And if you want to have Internet access in your yard, you may need to place the router or the signal repeater outdoors. Under these circumstances, it’s best to use a dedicated, waterproof and weatherproof router enclosure – otherwise, your router’s life will be shortened by storms, interference, etc.
Connect the router to the modem which was provided by your ISP using a standard Ethernet cable. Make sure that the router is powered on, and then give it a minute or so to boot up.
Connect your computer to the router using another Ethernet cable. Power up your computer and let it load the operating system.
Open the router manual and find out the URL of your router’s admin page. Look for IP addresses like 192.168.1.1 or URLs that are similar to routersetup.routermanufacturer.com. Remember the default user admin/pass combination as well; often times, it’s admin/admin.
Log into your router’s admin page, and then change the default user name, if it’s possible to do so. Change the default password as well, picking one that’s as long as your router allows to. You are only going to use it once a year or so, so feel free to go wild, picking a crazy looking password. Be sure to write it down in a notebook.
Change the default wireless network name, also known as SSID. Pick a name that doesn’t include your router’s name or manufacturer – this way, you will make it harder for people to break into your Wi-Fi network.
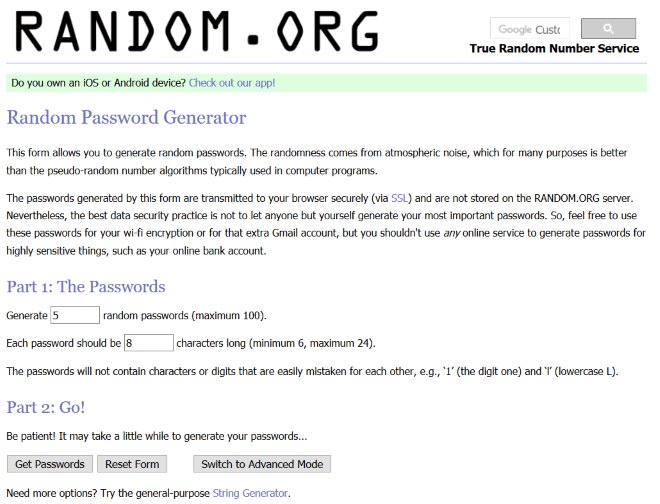
Choose WPA2 for your network security. It’s the strongest Wi-Fi encryption protocol at the moment, so it can’t be easily broken. Pick a long Wi-Fi password. Ideally, you should change it every few months or so, but if you’re too lazy to do that, at least pick one that’s long enough and contains a random soup of letters, numbers and special characters. Write it down in the same notebook.
Now that the Wi-Fi network has been set up, it’s time to unplug the Ethernet cable that connects your computer to the router. You won’t need it anymore! The new network should now be visible, and you should be able to connect all your Wi-Fi devices to it by simply choosing your network’s SSID and inputting the previously set up Wi-Fi password.
Read More
